DATA with BARAA

DATA with BARAA

fun with data

SQL Basics

Querying Data

Filtering Data

Joining Tables

SQL Functions

Modifying Data

Defining Data

Overview of MySQL Workbench

In this tutorial, I would like to give you a real quick tour and overview of the interface of MySQL Workbench.

Because when you first start MySQL Workbench, the many toolbars, panels, and options may be a little bit overwhelming or confusing. But actually, it’s not that difficult.

I’m not going to explain everything but will give you a general overview of the interface. If you need more details, visit MySQL Workbench Manual.

Let’s start, by explaining each section in the interface !

Navigator

Navigator contains two tabs Schemas and Administration: 

  • Schemas – allows you to navigate through your database objects. 
  • Administration -contains all the tools for managing your SQL server, e.g. server status, users, starting and shutting down the server.

Toolbars

In MySQL Workbench we have two important toolbars:

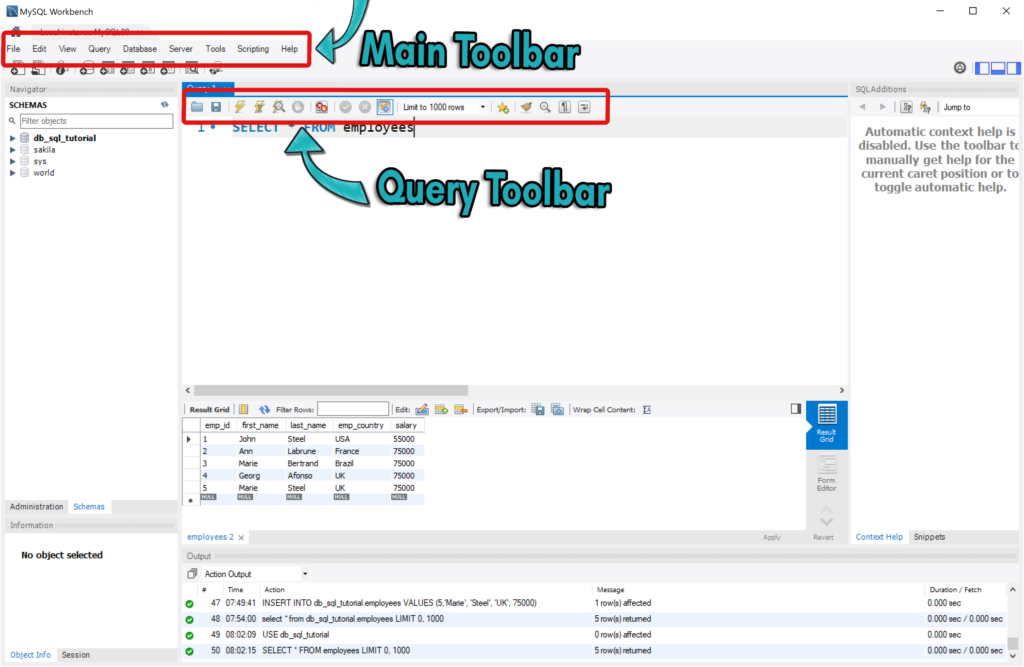
  • Main Toolbar – contains the most frequently used functions in SQL, e.g. create a new SQL tab, create a new table, create a new schema.
  • Query Toolbar – provides actions for the SQL statement. The most important of them is EXECUTE , to run and execute your SQL statement.

Query Editor

Query Editor is the main place where you will write SQL statements. You can open as many tabs as you need.

.

Results

Result Grid appears only after you have executed a SELECT statement. The data returned from the database is displayed in table form.

In the result section, you will find an extra toolbar that has some options such as export and import data.

Output (Log)

Output (Log) is a section with information like action output, history, text output.

SQL Additions

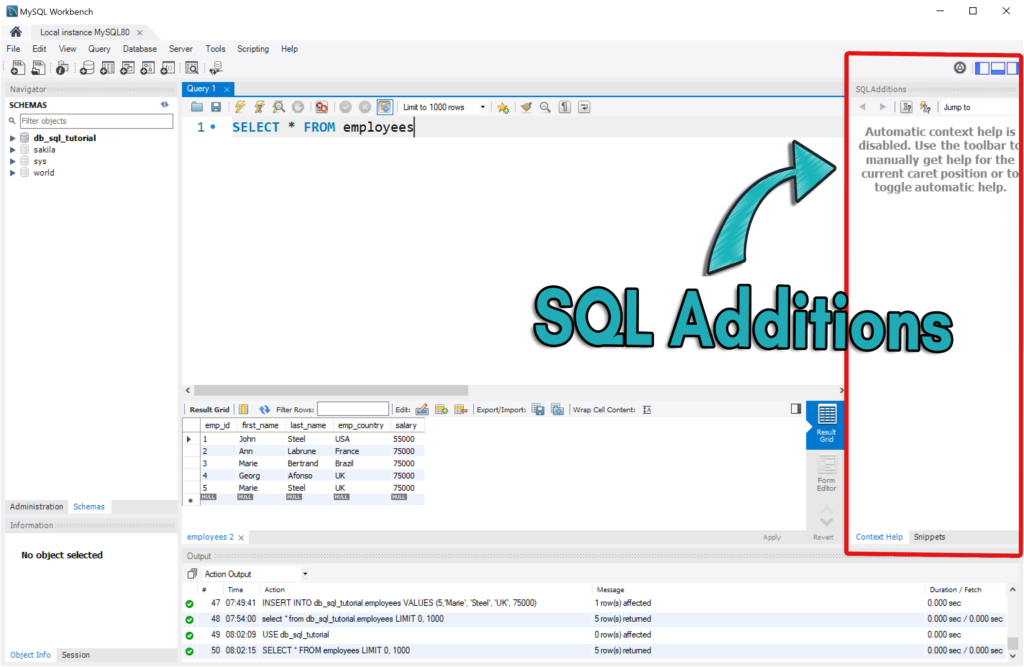
SQL Additions – is a helpful tool, that gives you a description of SQL syntax and usage. I usually hide it by clicking on , because it takes space from my window. it is a personal preference 😎

.
Share it !