SQL Basics
Querying Data
Filtering Data
Joining Tables
SQL Functions
Modifying Data
Defining Data
How to Download and Install MySQL
If you have no DBMS already installed on your system and you want to learn SQL, then you can follow this tutorial.
In this tutorial, you will learn step by step (29 steps) how to download and install MySQL on Windows using MySQL open-source community edition and at the last step, we will log in to the database.
After you follow all the steps you will have MySQL server and its tools up and running on your system for learning and practicing.
Now, lets us get started with the installation of MySQL:
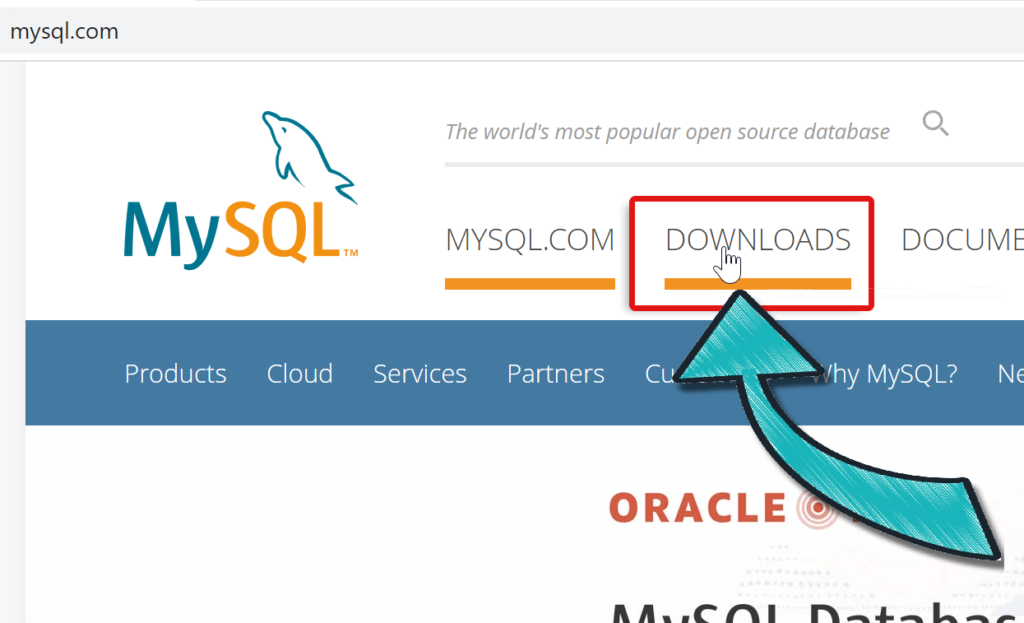
#1 Open your browser and go to the official website of MySQL mysql.com then click on the Download page.
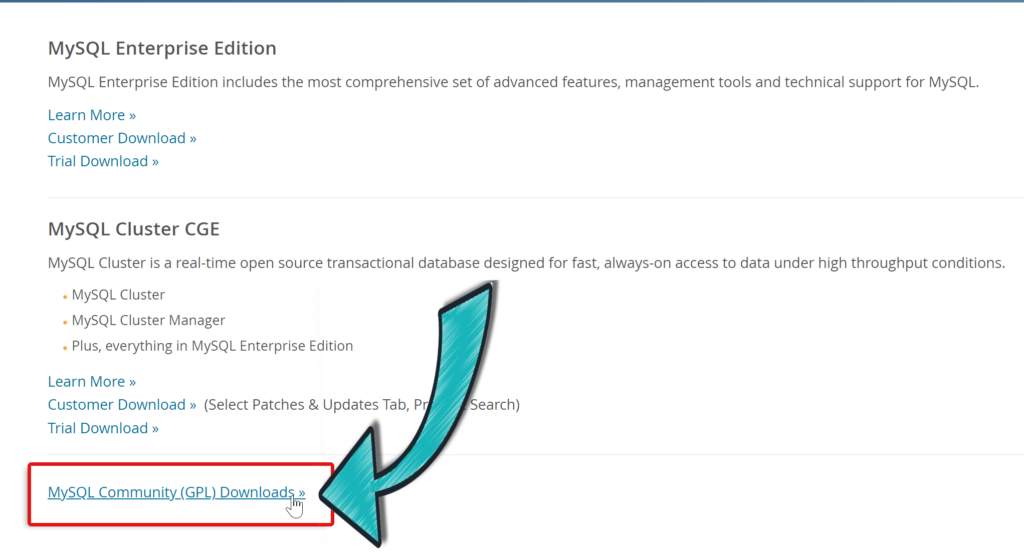
#2 scroll down to the bottom and click on MySQL Community (GPL) Downloads.
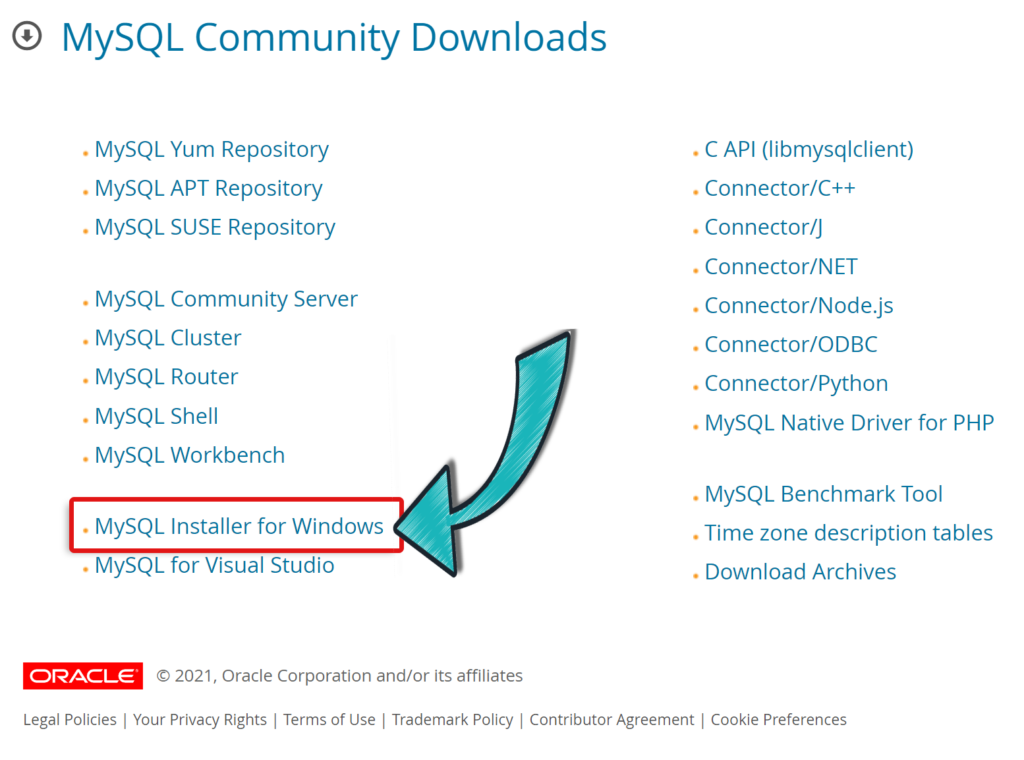
#3 select MySQL Installer for Windows
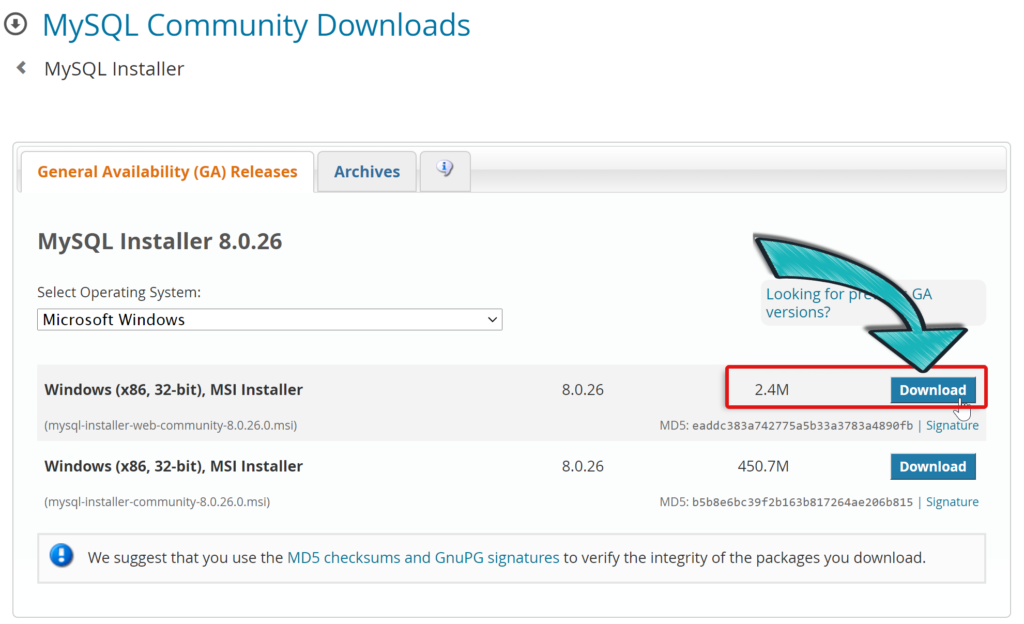
#4 download the first installer with the smaller size, currently is 2.4M. Click on Download.
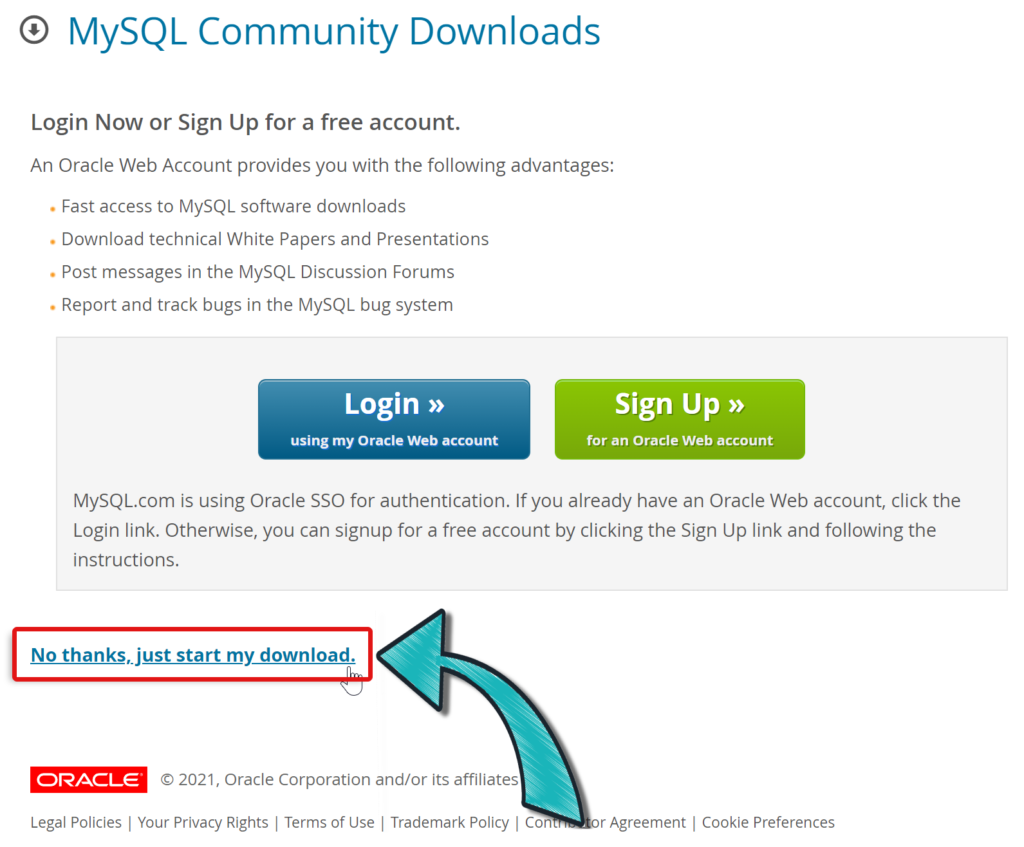
#5 On this page you are asked to create an account and log in, which is unnecessary for our tutorial but you can do it if you want. For now, let’s click on No thanks, just start my download.
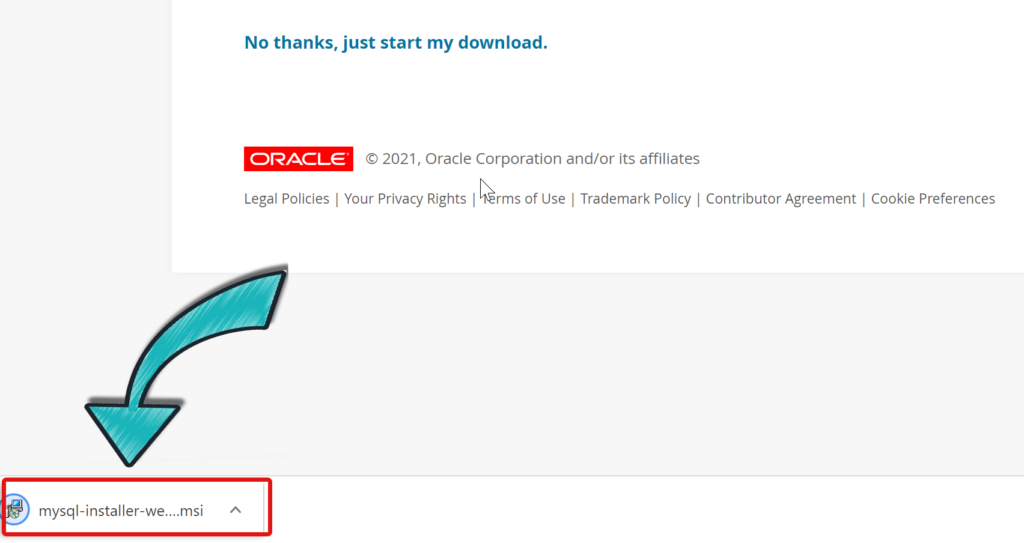
#6 The installation file will be downloaded to your PC. Go to your download folder and run the installation file.
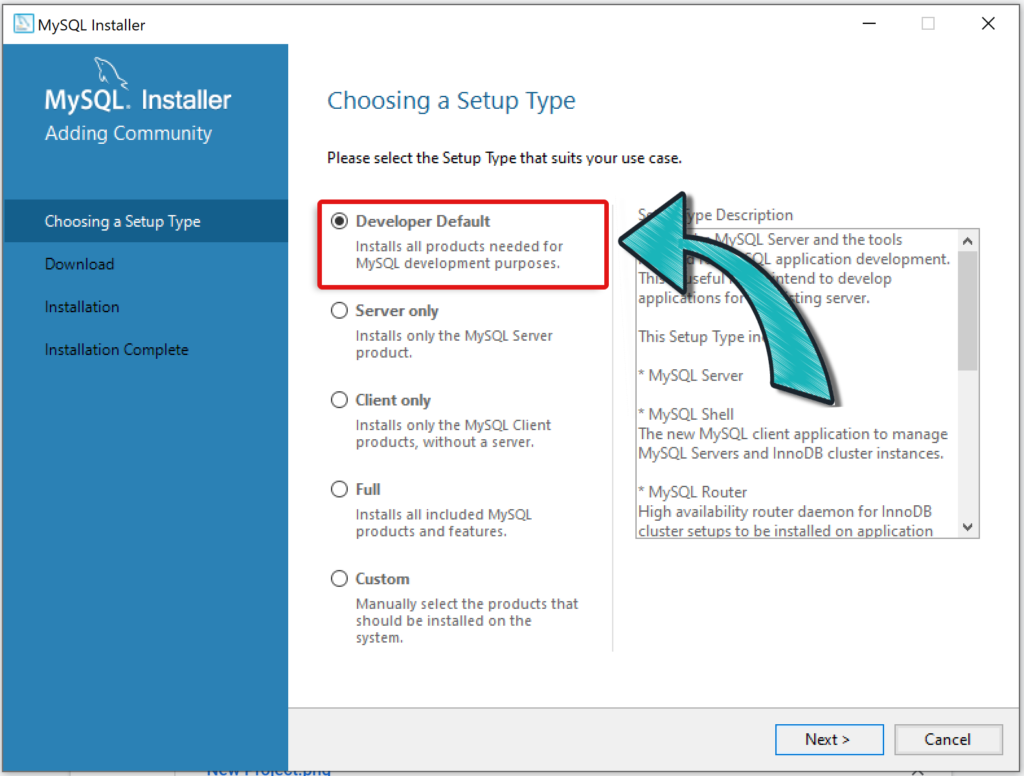
#7 Now we are at the setup wizard to install MySQL. Stay with the option Developer Default. It is enough for our tutorial.
From now on, we will keep clicking on next, finish, execute, yes…etc. It is really simple, there are some places where you need to enter a password.
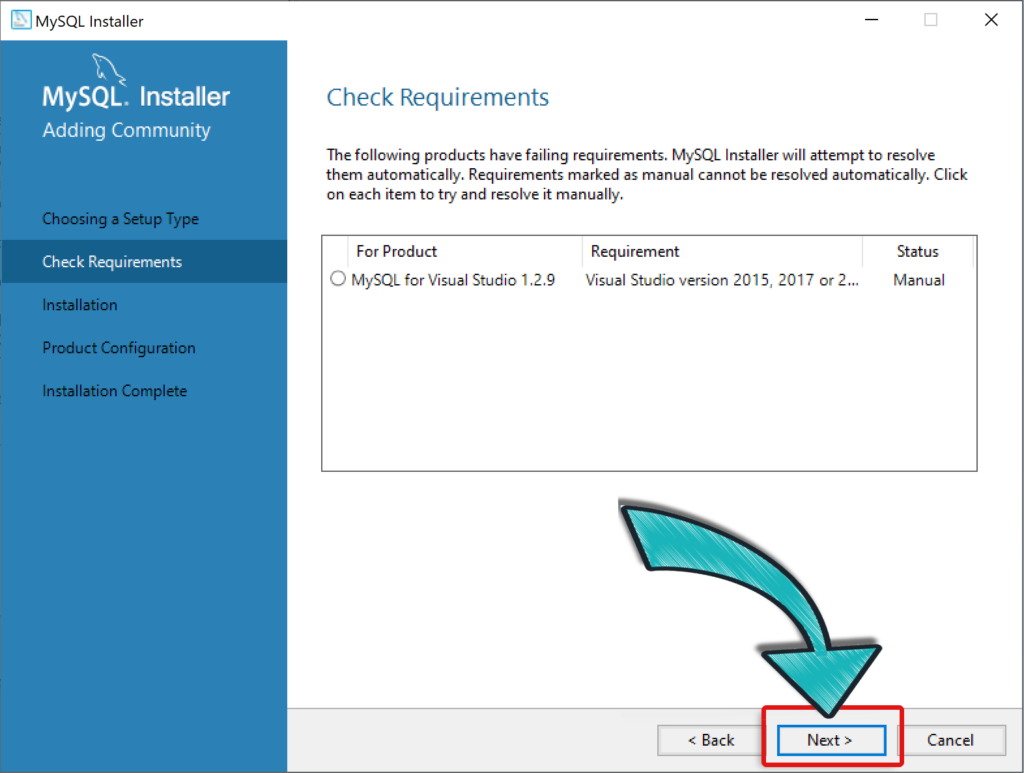
#8 The installation wizard just warning us about missing requirements. Don’t worry about it and click Next.
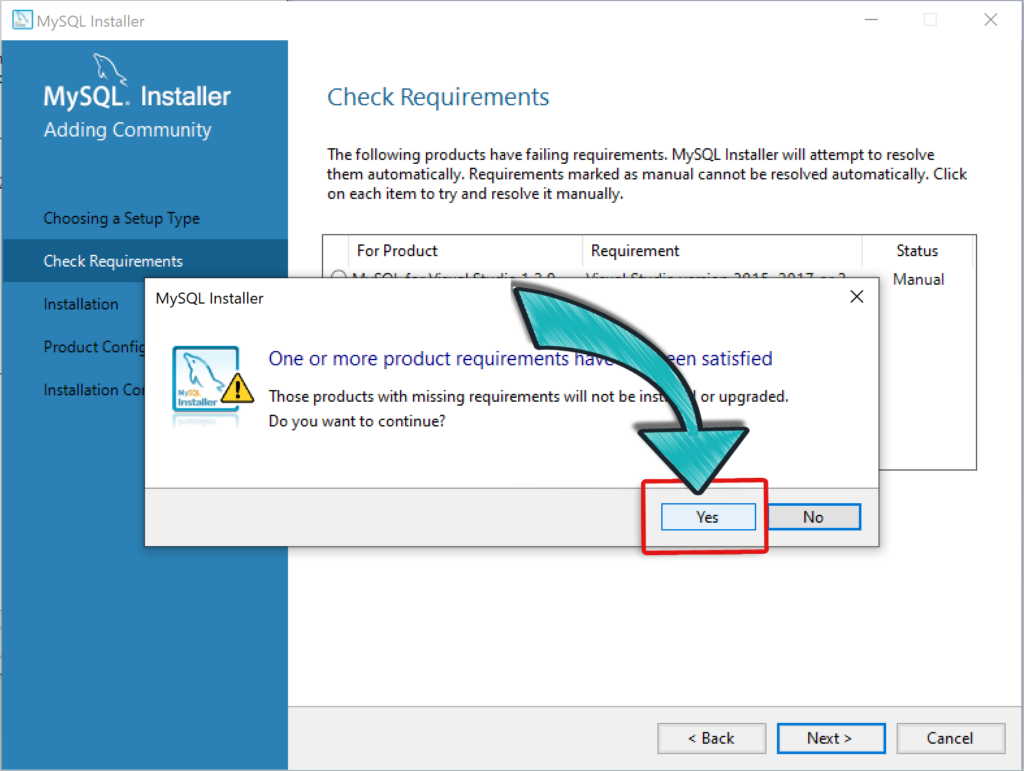
#9 click Yes
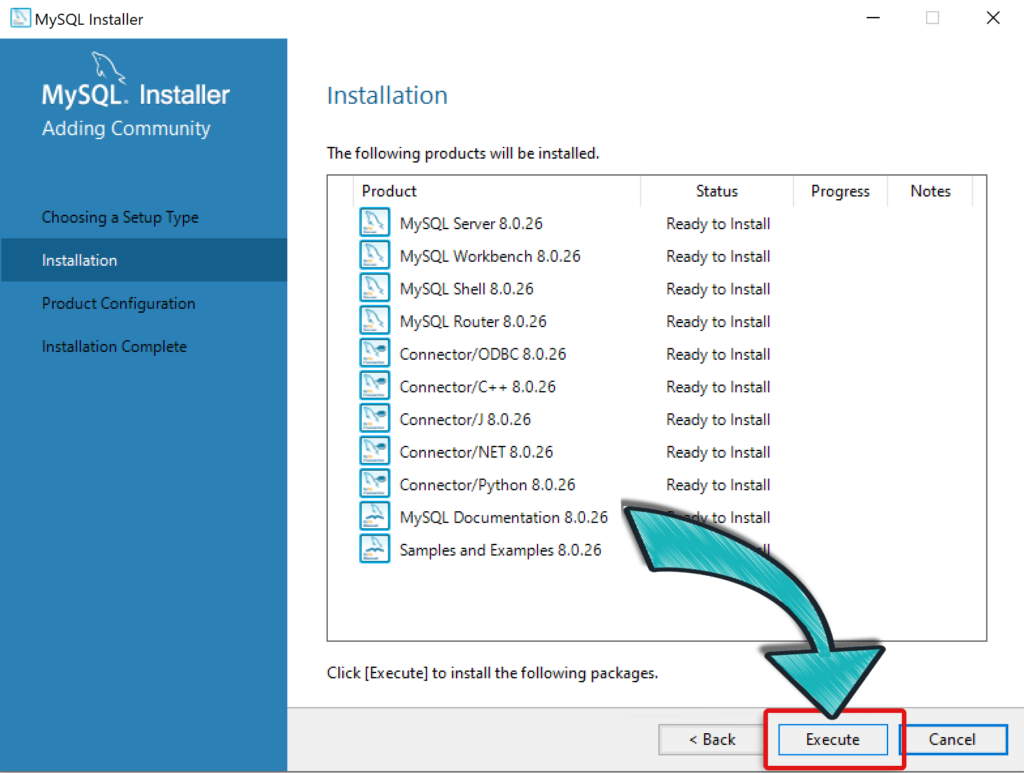
#10 MySQL Installer will download all selected products. It will take a while, depending on which products you selected and the speed of your internet. Just leave it as default and download all of them and click Execute.
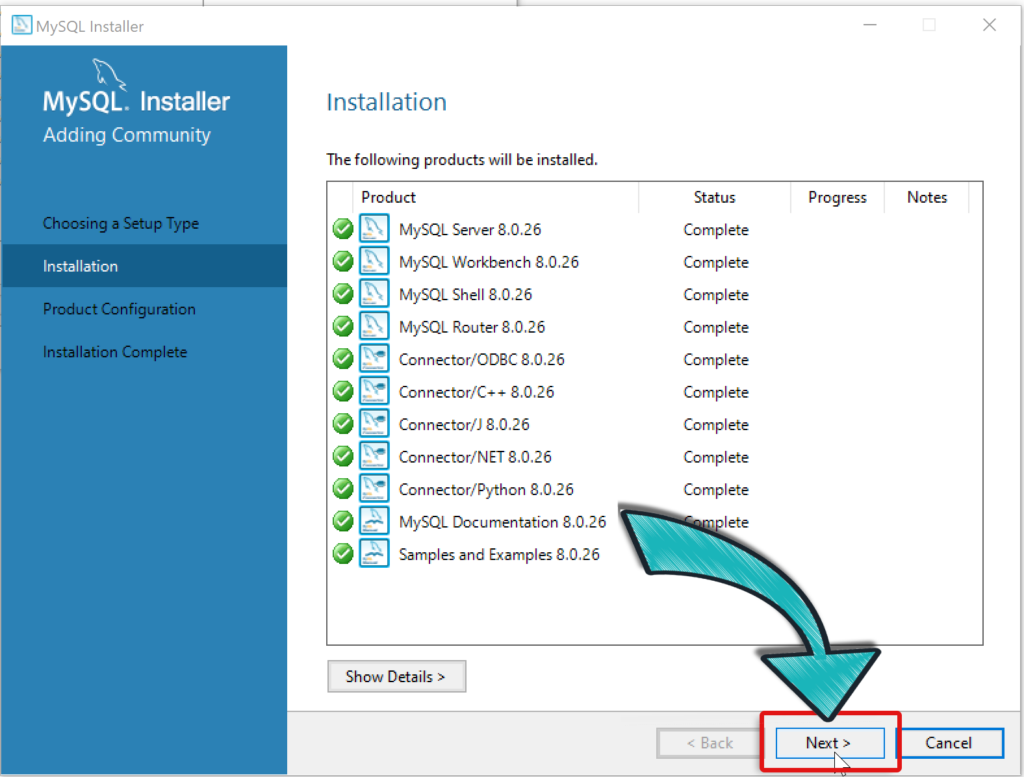
#11 once all products are completed, click on Next.
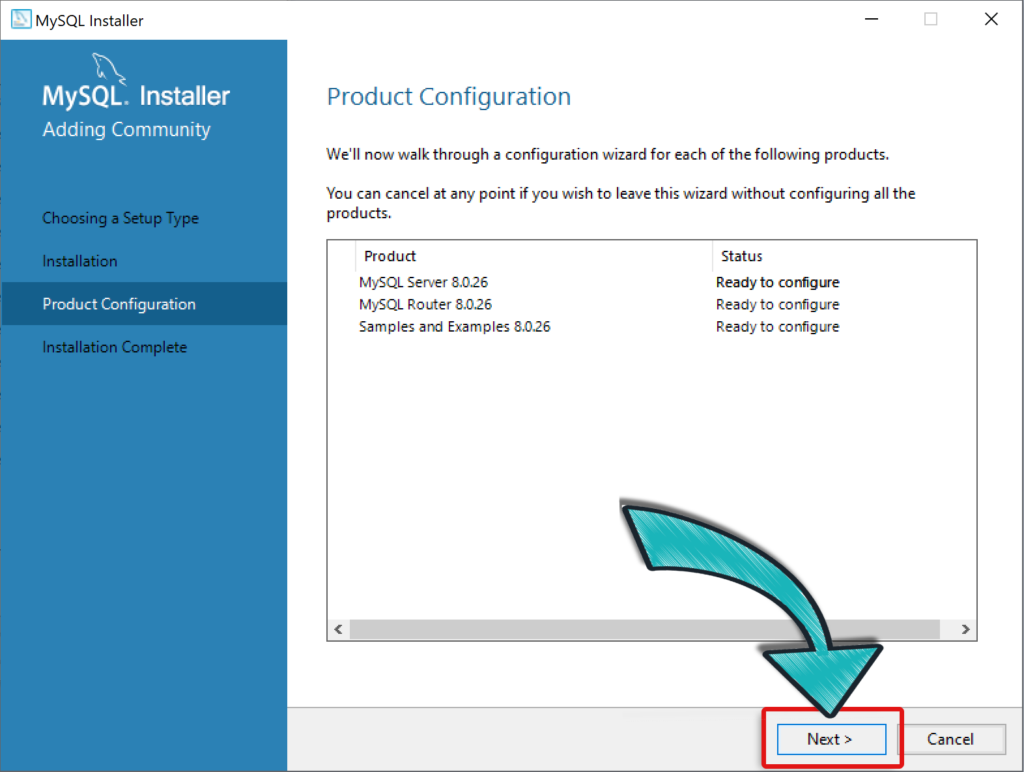
#12 click on Next.
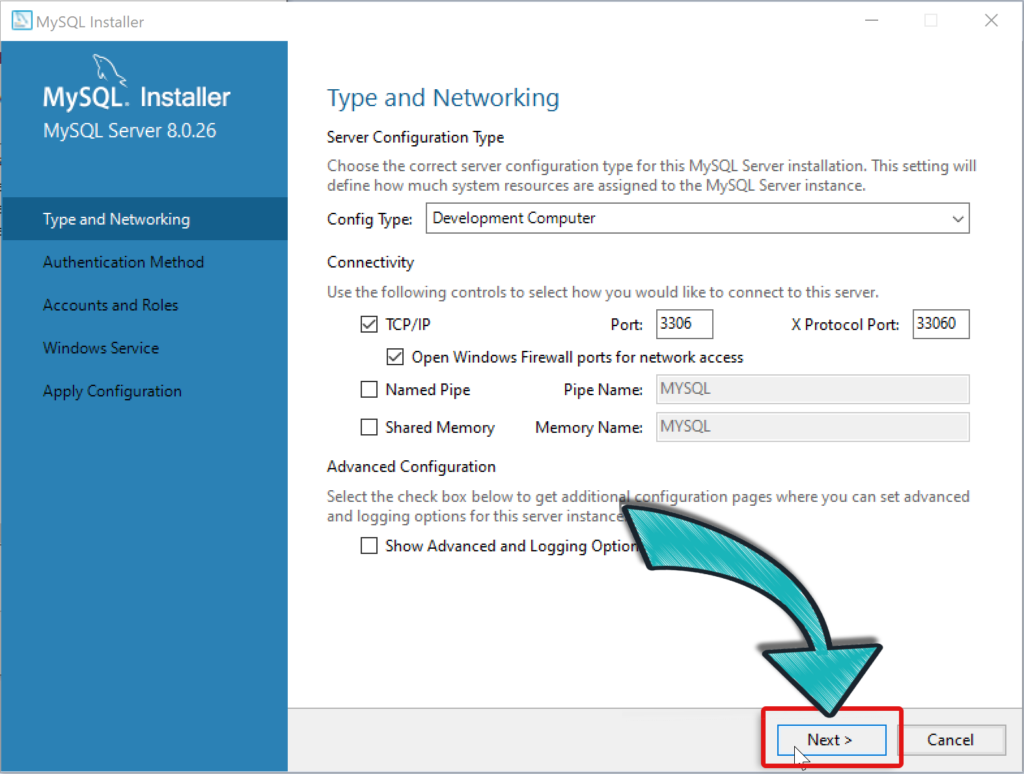
#13 next page is about networking, leave all as default settings and click on Next 😉
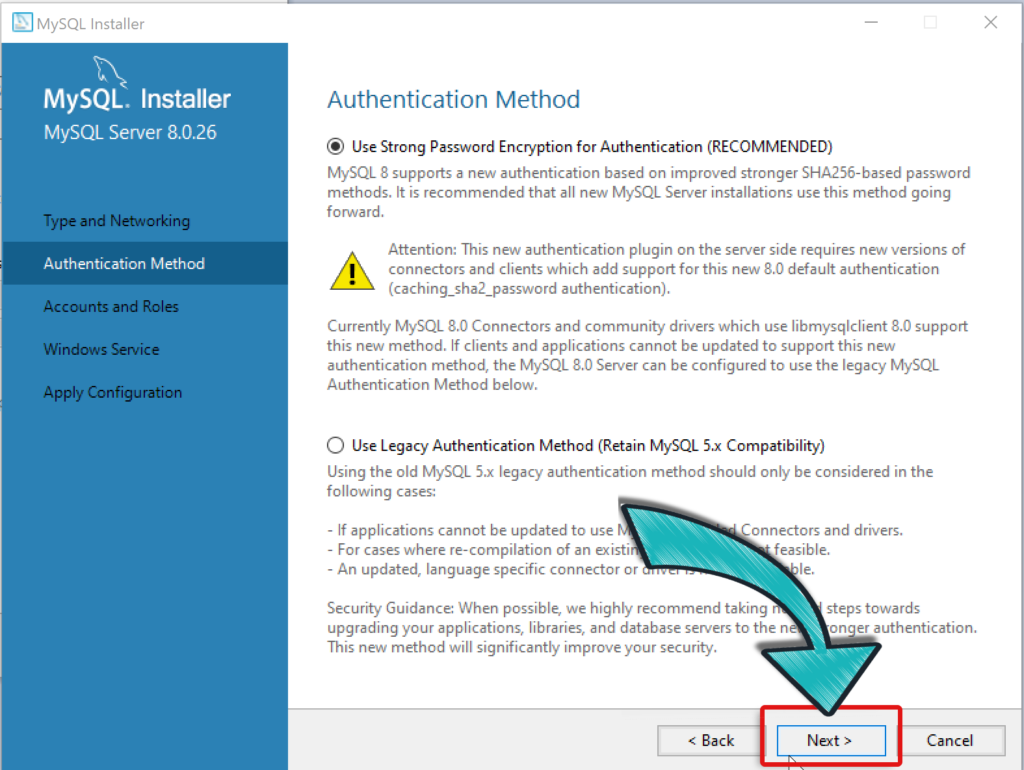
#14 we stay with the recommended option and click on Next 😎
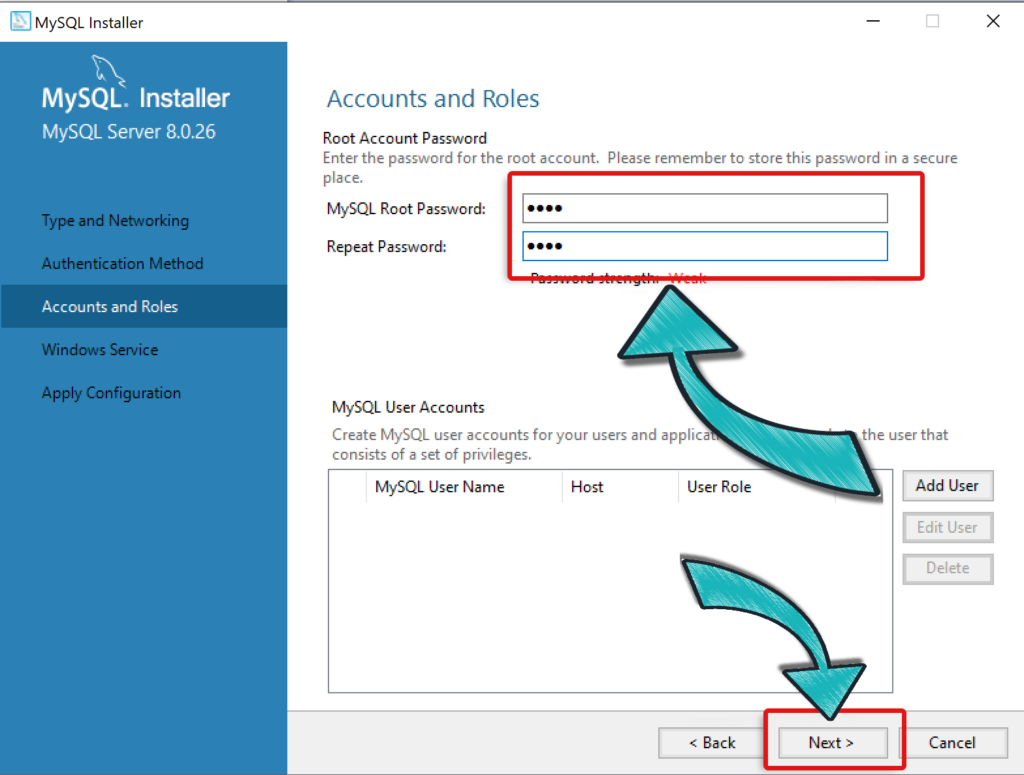
#15 finally we have to do something! now you have to give a password for the ROOT user the admin user.
Write down the password twice and click Next.
#16 click Next 🙂
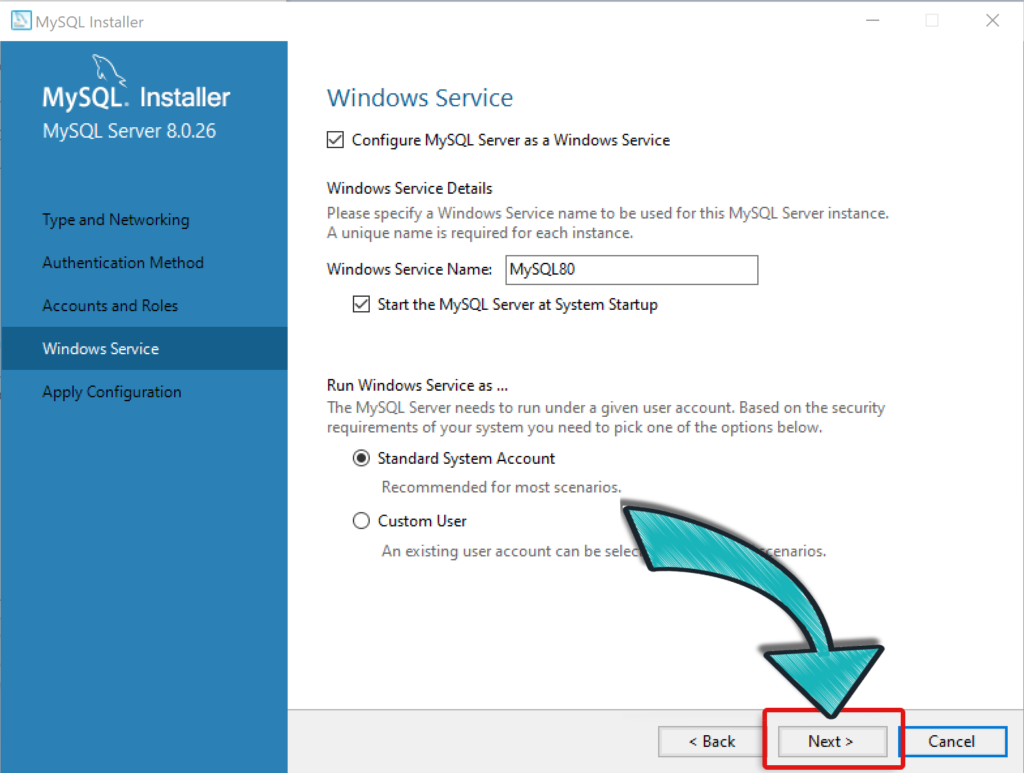
#17 MySQL wants now to Apply configuration, so one more Execute 🙄
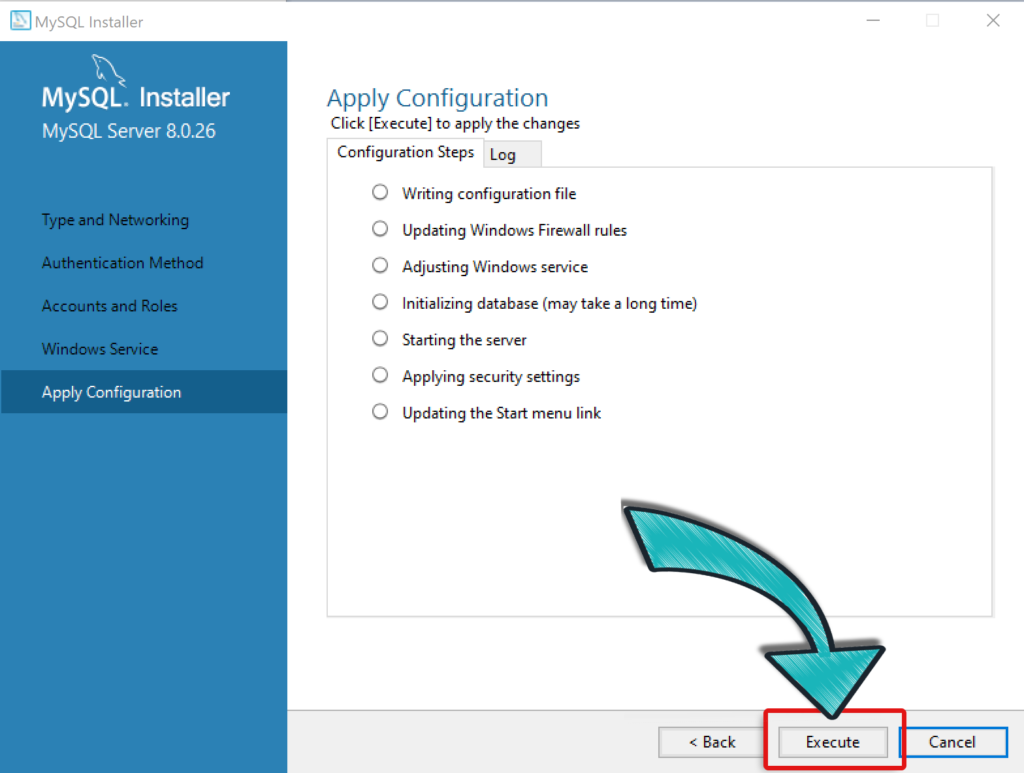
#18 once everything is configurated click on Finish.
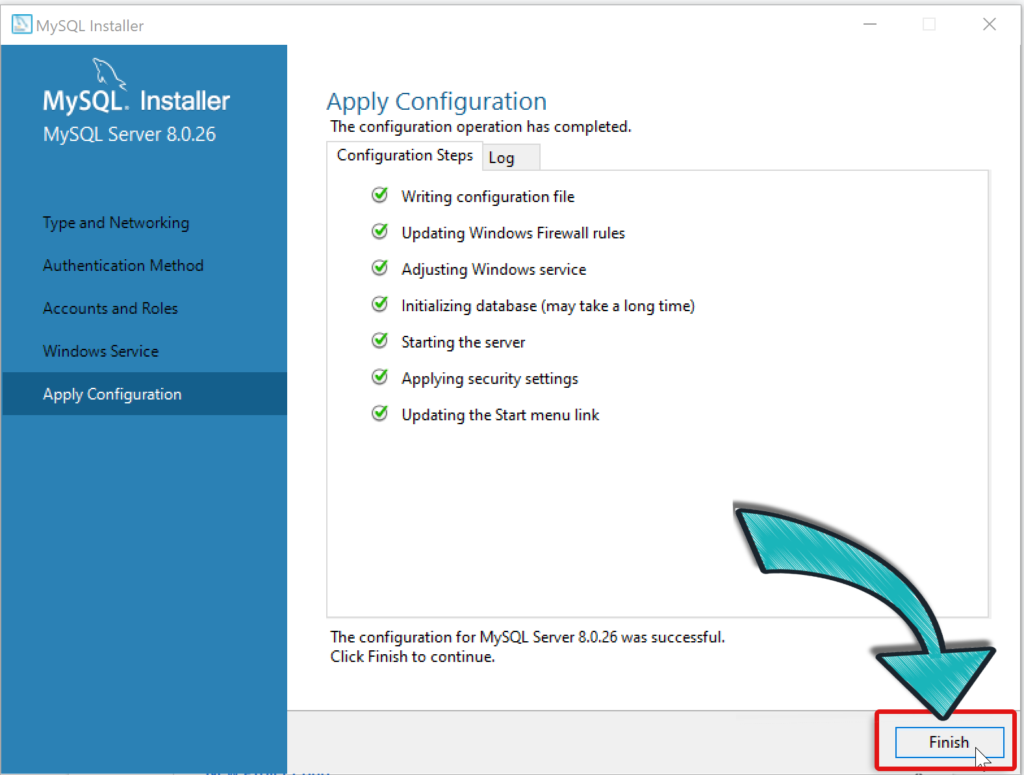
#19 guess what? MySQL wants to do Product Configuration! Click Next 😲
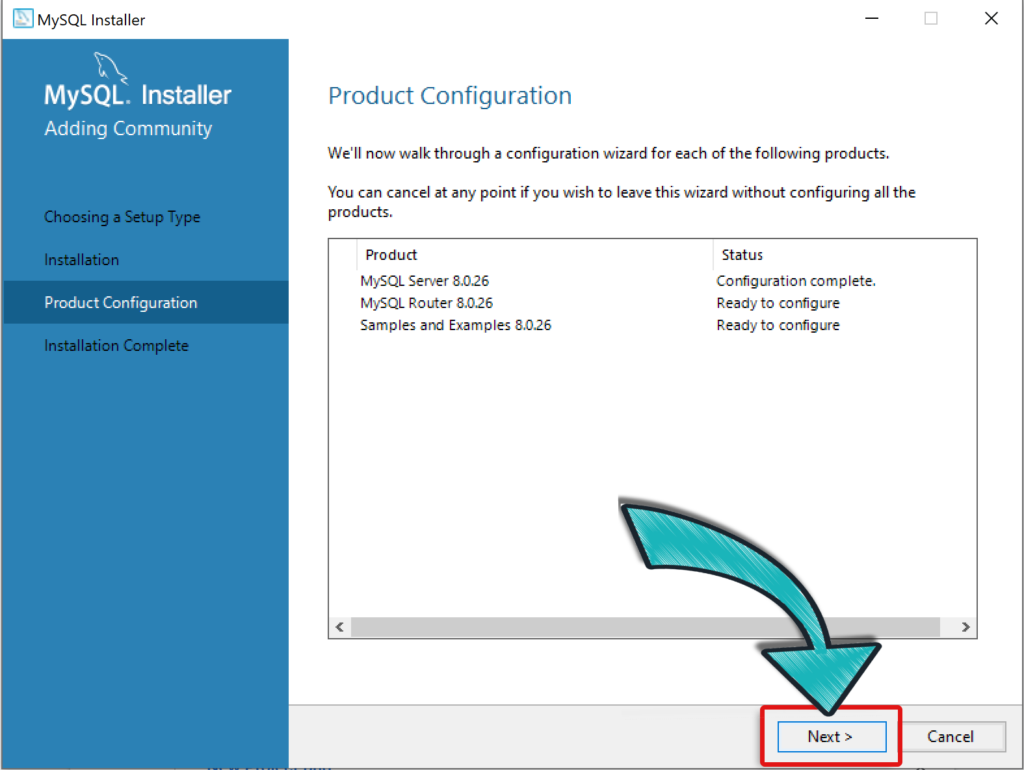
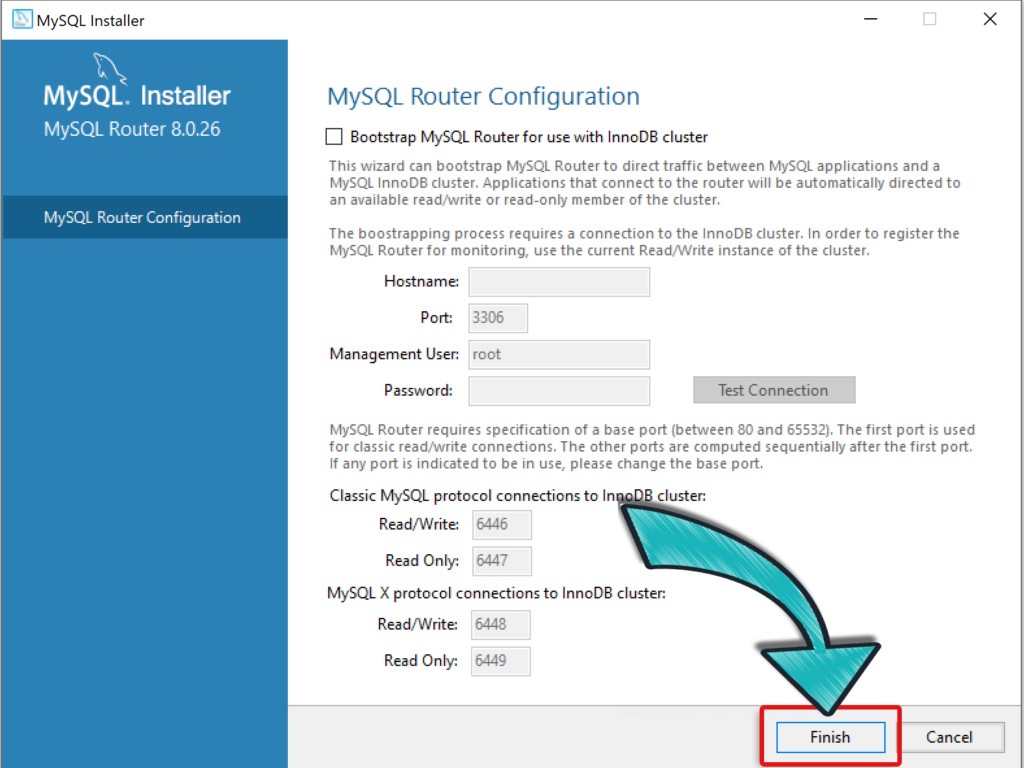
#20 don’t change anything here, and click what? Finish, Yes you are right! 😉
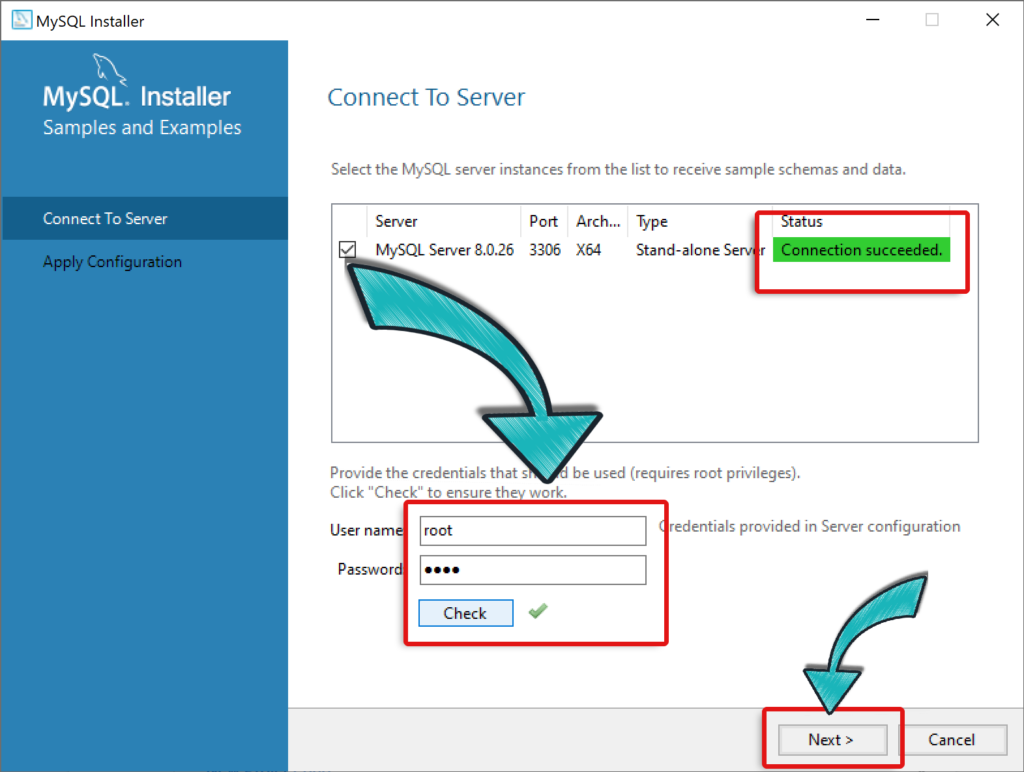
#21 Now on this page, you need to enter the password of ROOT that you previously entered, then click Check.
In this step your connection will be tested, if you get a green status connection succeeded, that means you have done everything right! Then Click Next.
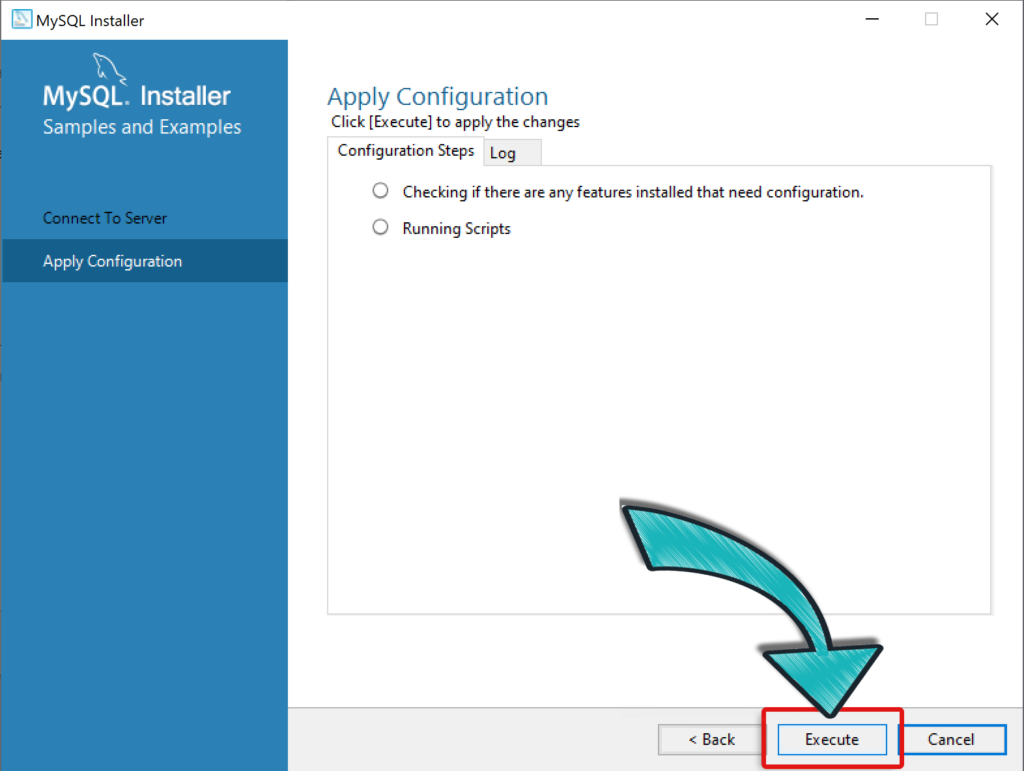
#22 click on Execute to apply Configuration 🤐
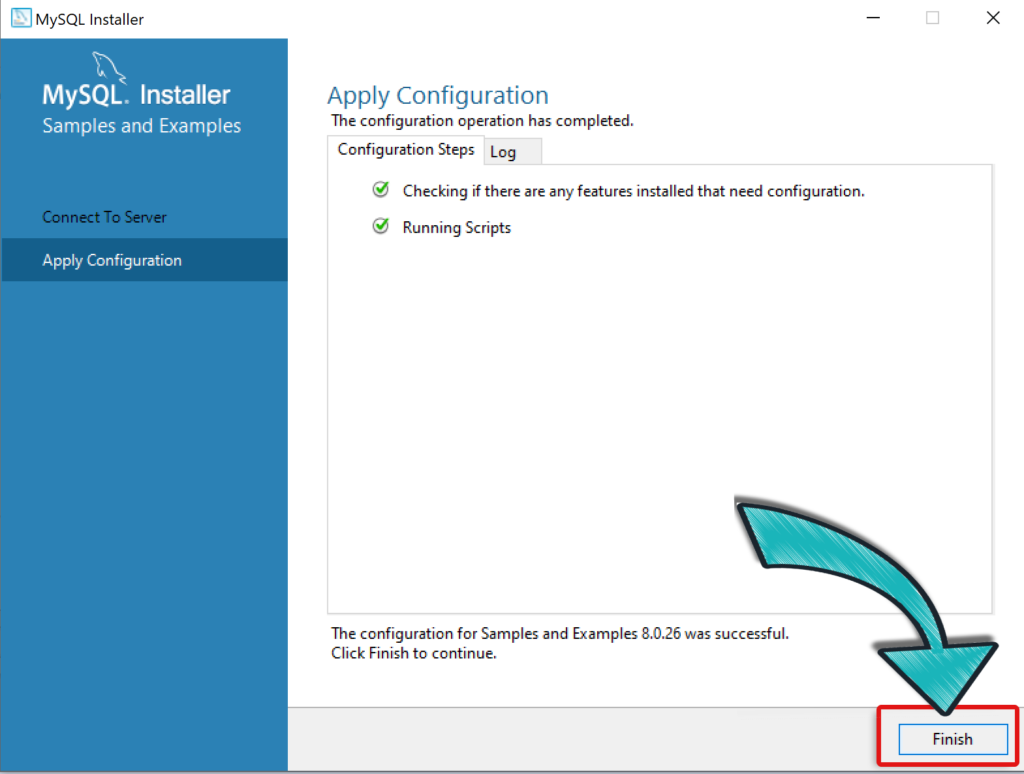
#23 then click Finish 😴
#24 again Product Configuration ! Click Next.😤
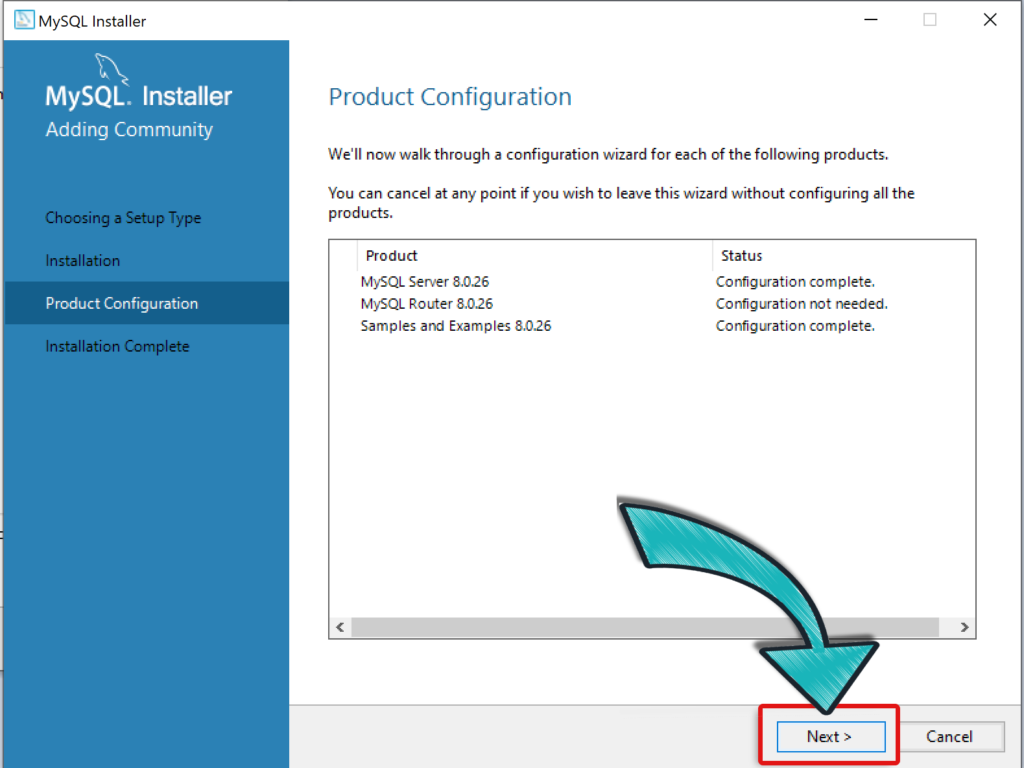
#25 Yes you made it! Installation completed 🎉 Click Finish.
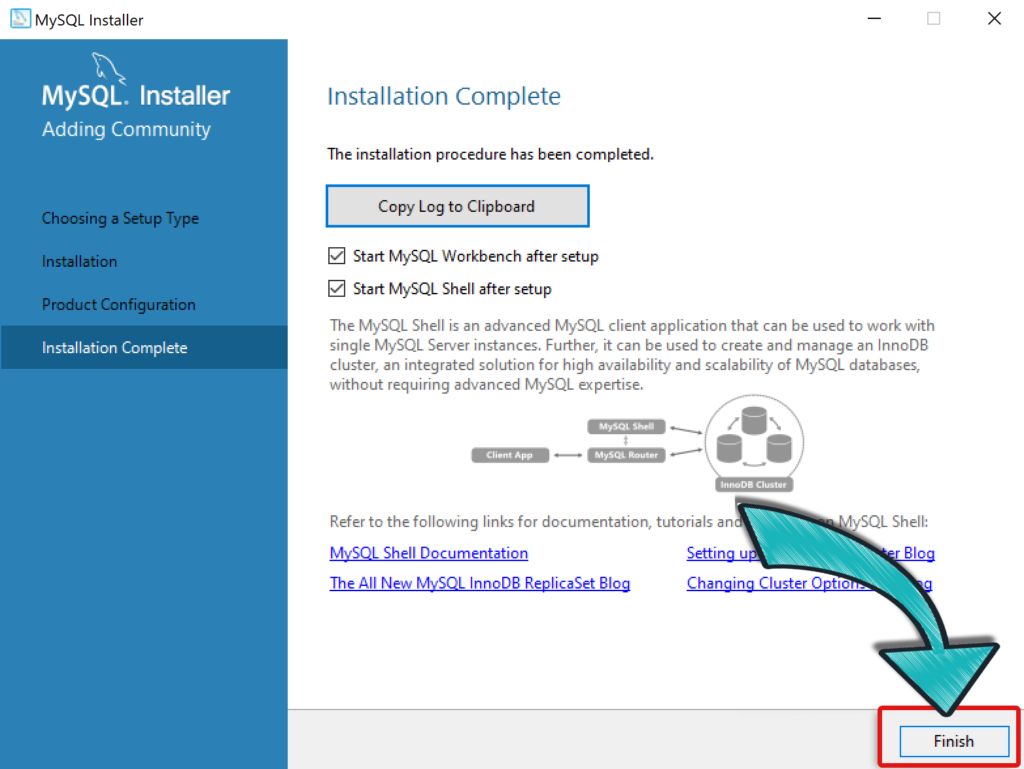
#26 once you finish the installation, the application will start automatically and you will get a prompt window, where you can type instructions to talk to MySQL server.
You don’t really need it, we will be using MySQL Workbench. So you can close this window.

#27 now we are at the welcoming page of MySQL Workbench. Click on the Local instance MySQL80 to be connected to your local server.
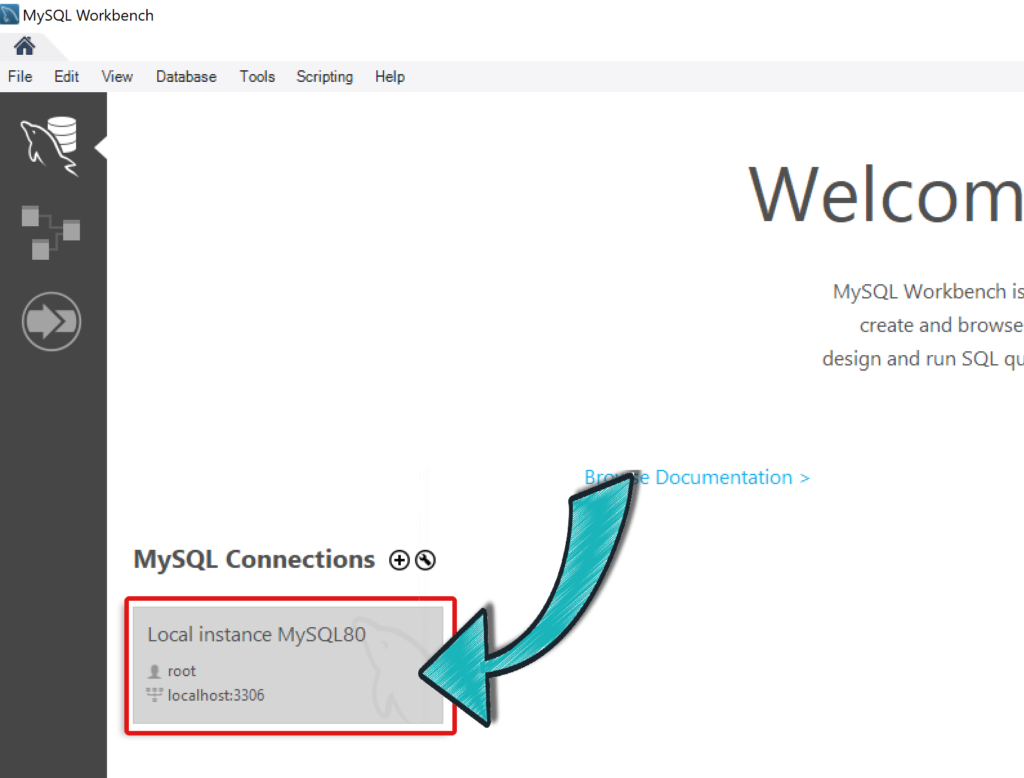
#28 each time you need to open MySQL you have to connect to MySQL Server locally, and you have to enter the password of ROOT.
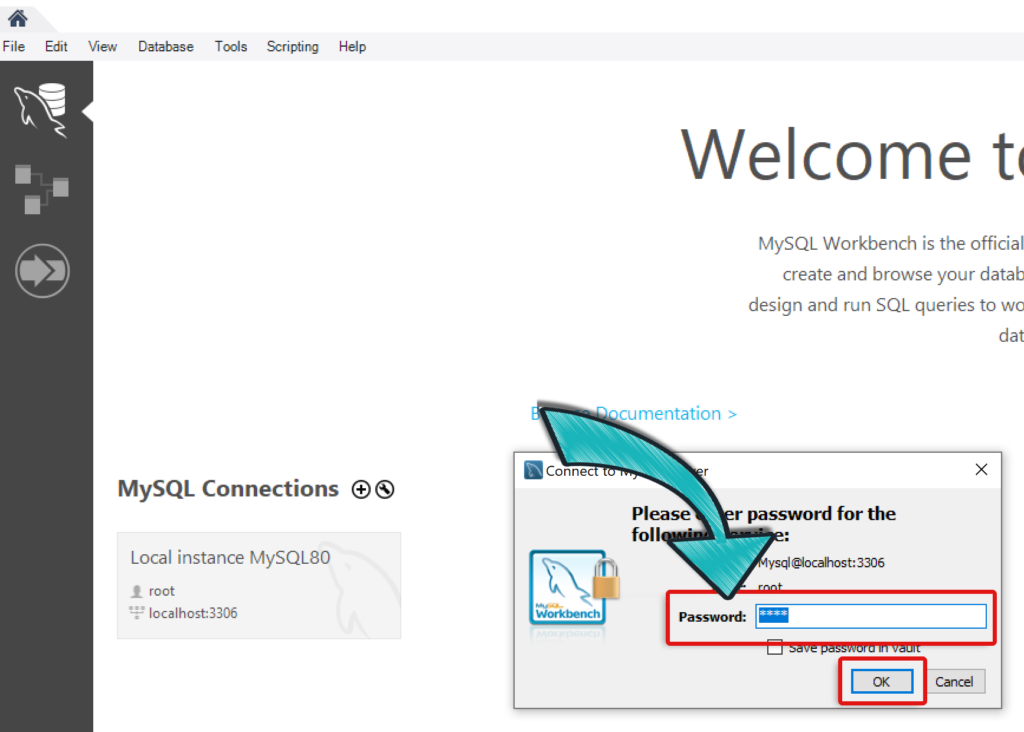
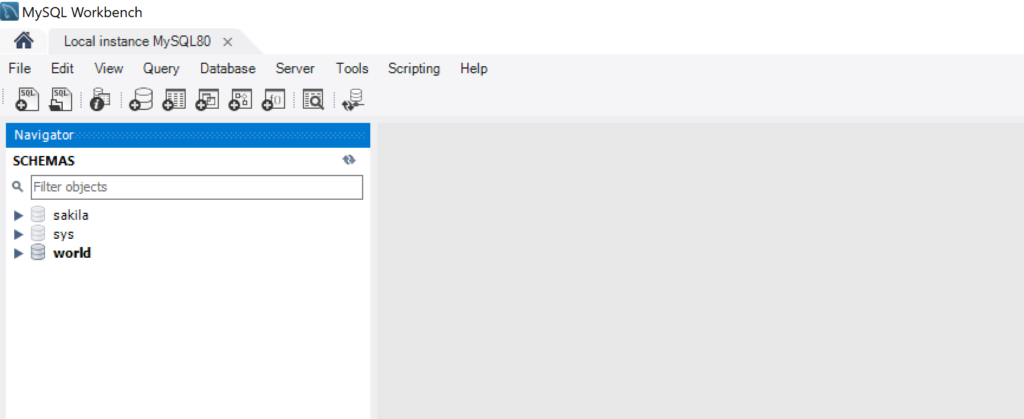
#29 If you are connected to the local instance, that means you have successfully downloaded, installed, and connected MySQL on your PC. Congrats!
